Grilled Cheese Sliders with Pesto
Highlighted under: Classic Comfort Recipes
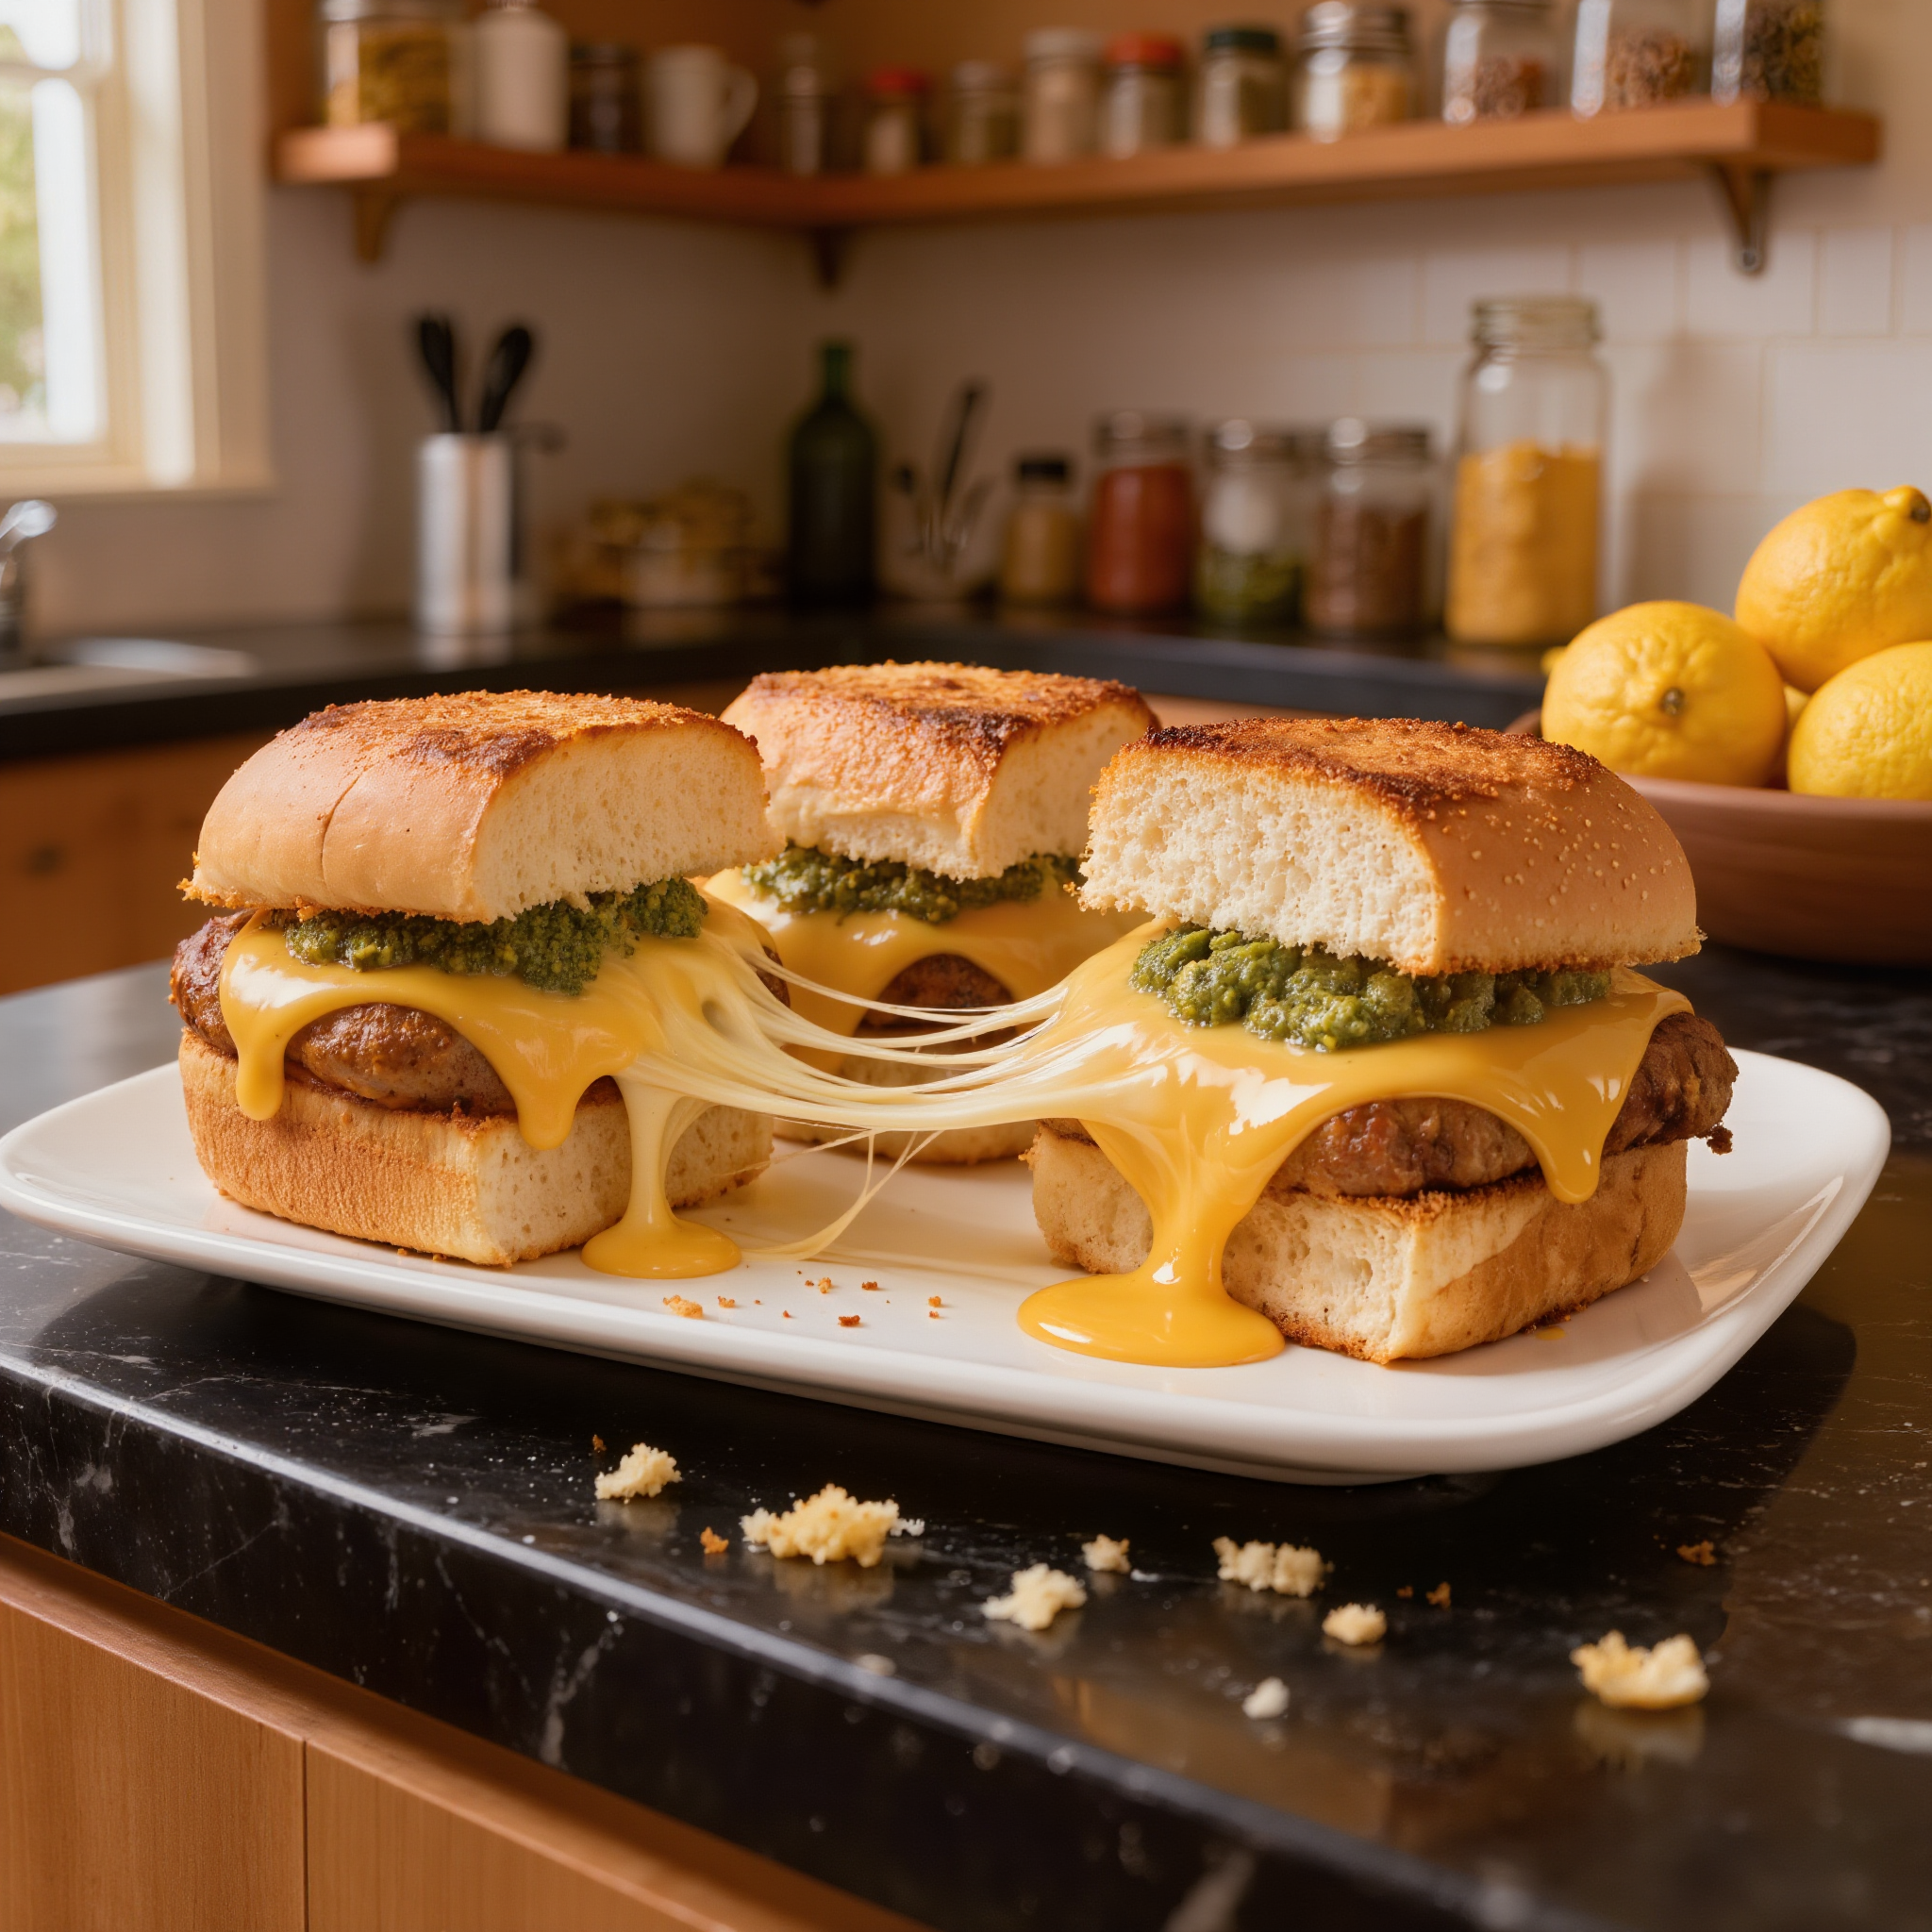
I absolutely love making Grilled Cheese Sliders with Pesto for casual get-togethers. These little bites are not just easy to prepare but also packed with flavor. The crispy, golden-brown exterior gives way to gooey melted cheese, and the fresh, aromatic basil pesto elevates this classic dish to a whole new level. They’re perfect for serving as appetizers, and you can prepare them in no time. Trust me, once you try these sliders, they will become a staple at your gatherings.
When I first experimented with making grilled cheese sliders, I wanted to add a unique twist to the classic comfort food. After a few attempts, I discovered that adding pesto not only brings freshness but also complements the richness of the cheese beautifully. Using a mix of mozzarella and sharp cheddar gives a delightful flavor contrast that keeps everyone coming back for more.
One tip I've learned is to brush the bread with olive oil before grilling. This not only helps achieve that perfect golden crust but also enhances the flavors! Enjoying these sliders with a side of marinara for dipping makes the experience even more enjoyable.
Why You'll Love These Sliders
- Crispy, melty goodness in every bite
- Fresh basil pesto adds a gourmet touch
- Perfect for parties or a cozy night in
The Art of Perfectly Grilled Cheese
Achieving the ideal grilled cheese slider involves mastering the balance of heat and time. Begin with medium heat, which allows the bread to toast while giving the cheese enough time to melt thoroughly. If your skillet is too hot, you risk burning the bread before the cheese reaches its gooey state. A good visual cue is golden-brown edges and a bubbly, melted center. If you find the cheese isn't melting as desired, consider covering the skillet with a lid for the last minute to trap heat and moisture.
For a crispy exterior, using a combination of olive oil and butter on the bread can add richness. However, if you're looking for a lighter option, simply olive oil can do the trick. I personally love the flavor the butter brings, but either choice will result in a delightful crunch. Don't be shy about experimenting with different fats to find your favorite combination.
Elevating the Flavor with Pesto
The addition of basil pesto not only provides a burst of flavor but also introduces healthy fats and aromatic freshness. This ingredient can be stored in the refrigerator for up to a week, allowing you to whip up these sliders any evening you crave them. If fresh pesto isn't available, a store-bought version works in a pinch, but opt for one made with quality ingredients to ensure your sliders maintain that gourmet touch.
Feel free to personalize your pesto by adding nuts or different cheeses to suit your taste. Though classic basil is fantastic, consider a sun-dried tomato or spinach variation for a twist. Whichever version you choose, ensuring a generous spread on the buns maximizes flavor-impact with each bite.
Serving Suggestions and Variations
These grilled cheese sliders are wonderfully versatile, making them perfect for various occasions. Serve them alongside a warm tomato soup for a classic pairing or try a side of tangy pickles for added crunch. For a more substantial meal, stack them with layers of sliced tomatoes or arugula for extra nutrients and freshness.
If you're preparing for a larger gathering, consider scaling up the recipe easily. You can use larger buns and adjust the cheese layers accordingly, ensuring that everyone gets their fill. Leftovers can be stored in an airtight container in the refrigerator for up to three days. To reheat, pop them back in a skillet over medium heat, flipping gently to restore that crispy texture.
Ingredients
Gather these simple ingredients to make delightful Grilled Cheese Sliders with Pesto.
Ingredients
- 8 small slider buns
- 8 slices of mozzarella cheese
- 4 slices of sharp cheddar cheese
- 1/2 cup basil pesto
- 2 tablespoons olive oil
- Salt and pepper to taste
Make sure to use fresh ingredients for the best flavor.
Instructions
Follow these steps to create your sliders in no time.
Prepare the Sliders
Preheat a skillet over medium heat. Slice the slider buns and spread a thin layer of pesto on the inside of each bun. Place a slice of mozzarella and cheddar cheese on the bottom half of each bun.
Assemble and Grill
Top each cheese layer with the other half of the bun. Brush the outsides of the sliders with olive oil and sprinkle a bit of salt and pepper. Place the assembled sliders in the preheated skillet.
Cook to Perfection
Cook the sliders for about 3-4 minutes on each side until the bread is golden brown and the cheese is melted. Be careful not to burn them!
Serve warm with marinara sauce on the side for dipping if desired.
Pro Tips
- Feel free to customize the cheeses according to your preference. Adding tomatoes or spinach can also enhance the flavor and nutrition.
Storage and Reheating Tips
After a gathering, leftover sliders can be stored in an airtight container in the refrigerator for up to three days. It's best to reheat them in a skillet rather than in the microwave, as this helps to maintain the crispy texture of the bread. Simply place the sliders back in a preheated skillet over medium-low heat for about 3-4 minutes on each side until heated through and the cheese is melty again.
If you want to prepare these sliders ahead of time, you can assemble them without grilling and store them in the refrigerator. Just ensure to layer a piece of parchment paper between the sliders to prevent sticking. When you're ready to serve, grill them directly from the fridge; just add a couple of extra minutes to the cooking time to ensure thorough heating.
Ingredient Substitutions
While mozzarella and sharp cheddar cheese create a delicious combination, feel free to experiment with other cheeses as well. Fontina or gouda would add a delightful creaminess, and a pepper jack could provide a spicy kick. If you're looking for a dairy-free option, try a nut-based cheese or vegan alternative which can often melt just as beautifully.
As for the slider buns, any small roll or bread that can hold the toppings will work, such as brioche, ciabatta, or even whole grain options for a healthier twist. If you're gluten-free, there are many gluten-free alternatives available that you can substitute in without compromising the flavor.
Creative Add-Ins and Flavor Variations
For those looking to amp up their slider experience, consider adding ingredients like caramelized onions, tomatoes, or even crispy bacon between the cheese layers. These add-ons enhance both taste and texture, transforming the simple slider into an indulgent treat you won't soon forget. Just be mindful not to overload the sliders; a few well-placed add-ins can elevate the sandwich without overwhelming it.
You can also play with different herbs and seasonings in your pesto or even add in a dab of a flavorful hot sauce to the cheese before grilling. Experimenting with different flavor profiles will keep these grilled cheese sliders exciting and new, ensuring that they'll be a hit every time you serve them.
Questions About Recipes
→ Can I make these ahead of time?
Yes, you can assemble the sliders and keep them in the refrigerator. Grill them just before serving for the best texture.
→ What types of cheese work best?
Mozzarella and cheddar provide a great flavor combination, but feel free to experiment with gouda or pepper jack for something different.
→ Can I use store-bought pesto?
Absolutely! Store-bought pesto works well for convenience, but homemade pesto offers more freshness and flavor.
→ How can I make them healthier?
You can use whole-grain buns and reduce the amount of cheese. Adding veggies like spinach or sliced tomatoes can also boost nutrition.

Grilled Cheese Sliders with Pesto
Created by: The Flavorshade Team
Recipe Type: Classic Comfort Recipes
Skill Level: Beginner
Final Quantity: 8 sliders
What You'll Need
Ingredients
- 8 small slider buns
- 8 slices of mozzarella cheese
- 4 slices of sharp cheddar cheese
- 1/2 cup basil pesto
- 2 tablespoons olive oil
- Salt and pepper to taste
How-To Steps
Preheat a skillet over medium heat. Slice the slider buns and spread a thin layer of pesto on the inside of each bun. Place a slice of mozzarella and cheddar cheese on the bottom half of each bun.
Top each cheese layer with the other half of the bun. Brush the outsides of the sliders with olive oil and sprinkle a bit of salt and pepper. Place the assembled sliders in the preheated skillet.
Cook the sliders for about 3-4 minutes on each side until the bread is golden brown and the cheese is melted. Be careful not to burn them!
Extra Tips
- Feel free to customize the cheeses according to your preference. Adding tomatoes or spinach can also enhance the flavor and nutrition.
Nutritional Breakdown (Per Serving)
- Calories: 320 kcal
- Total Fat: 18g
- Saturated Fat: 10g
- Cholesterol: 35mg
- Sodium: 520mg
- Total Carbohydrates: 28g
- Dietary Fiber: 1g
- Sugars: 2g
- Protein: 12g